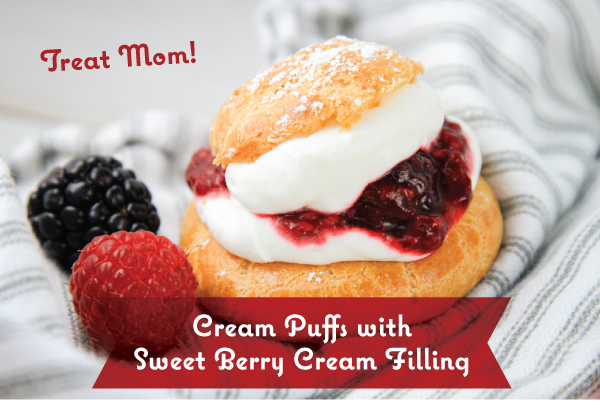
Expanding your repertoire of kitchen skills these days? Add cream puffs to your list of culinary mastery while celebrating the return of fresh berries. The light, delicate, cream puffs with sweet berry filling are perfect for Mother’s Day, too! This recipe starts with a classic French pâte à choux and finishes things off with bright, jammy berries, and homemade whipped cream.
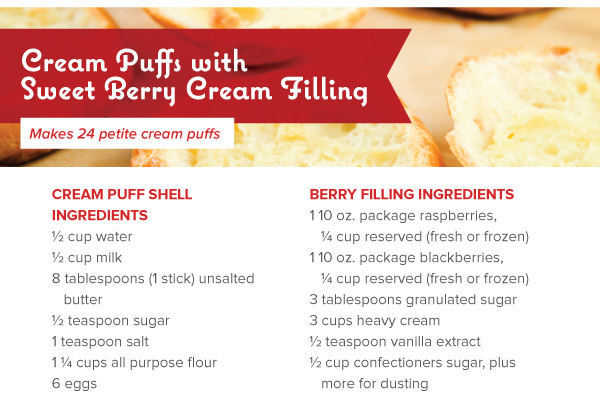


Cream Puffs with Sweet Berry Cream Filling
Makes 24 petite cream puffs
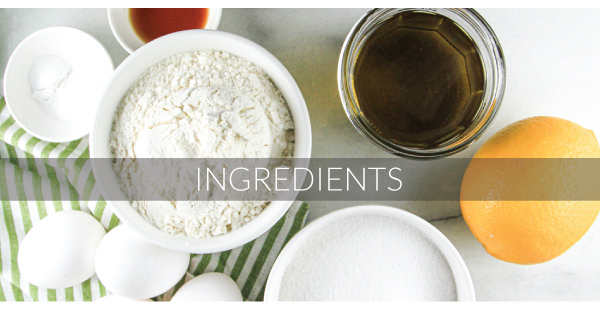
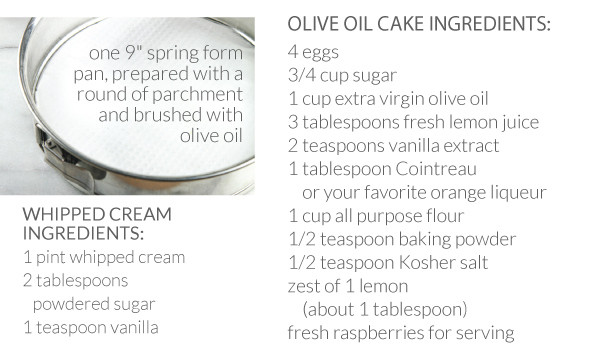
Cream Puff Shell Ingredients:
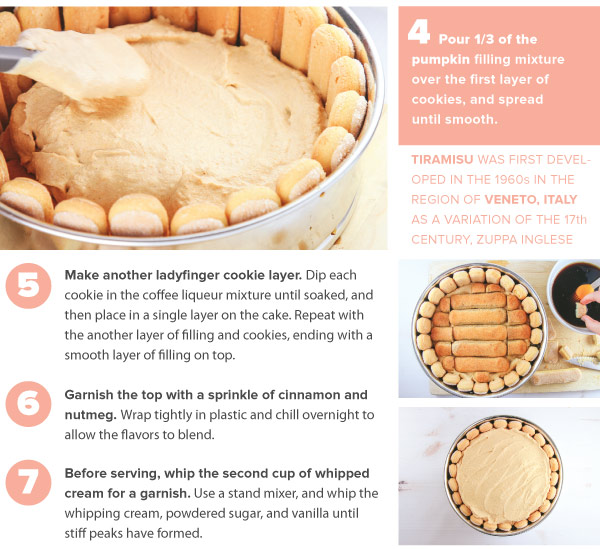
1/2 cup water
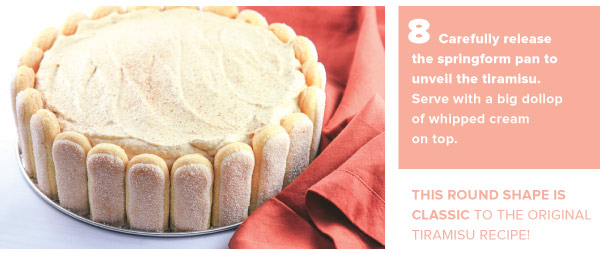
1/2 cup milk
8 tablespoons (1 stick) unsalted butter
1/2 teaspoon sugar
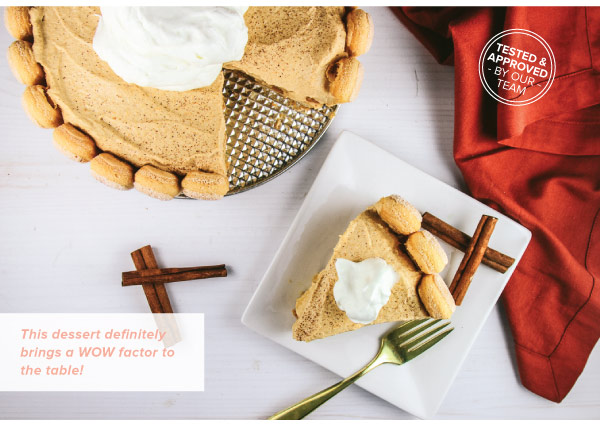
1 teaspoon salt
1-1/4 cups all purpose flour
6 eggs
Berry Filling Dressing:
1 package (10 oz) raspberries, fresh or frozen 1/4 cup reserved
1 package (10 oz) package blackberries, fresh or frozen, 1/4 cup reserved
3 tablespoons granulated sugar
3 cups heavy cream
1/2 teaspoon vanilla extract
1/2 cup confectioners sugar, plus more for dusting
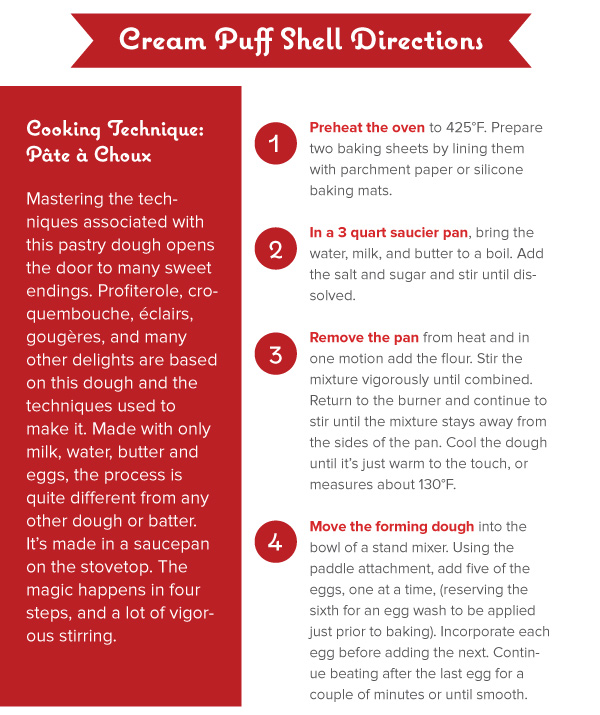
1. Preheat the oven to 425°F. Prepare two baking sheets by lining them with parchment paper or silicone baking mats.
2. In a 3 quart saucier pan, bring the water, milk, and butter to a boil. Add the salt and sugar and stir until dissolved.
3. Remove the pan from heat and in one motion add the flour. Stir the mixture vigorously until combined. Return to the burner and continue to stir until the mixture stays away from the sides of the pan. Cool the dough until it’s just warm to the touch, or measures about 130°F.
4. Move the forming dough into the bowl of a stand mixer. Using the paddle attachment, add five of the eggs, one at a time, (reserving the sixth for an egg wash to be applied just prior to baking). Incorporate each egg before adding the next. Continue beating after the last egg for a couple of minutes or until smooth.
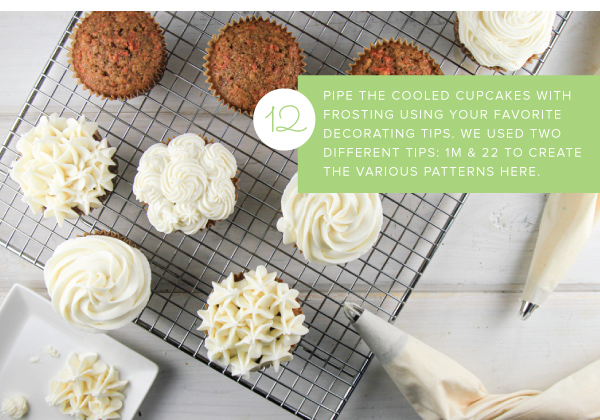
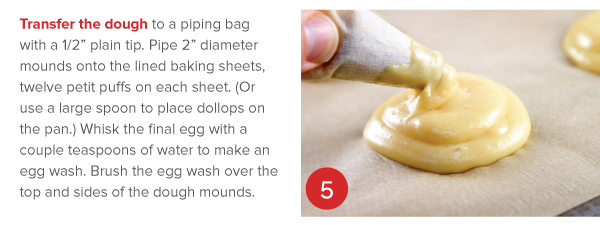
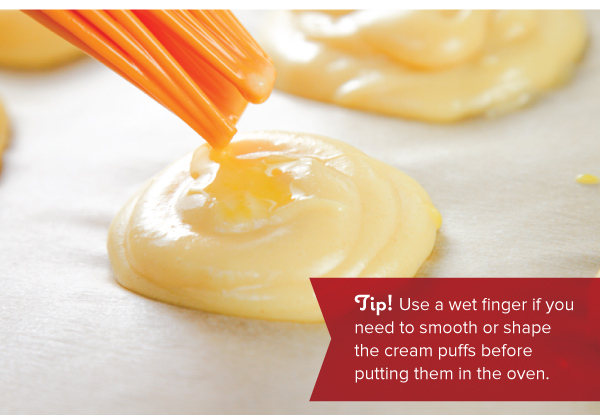
5. Transfer the dough to a piping bag with a 1/2” plain tip. Pipe 2” diameter mounds onto the lined baking sheets, twelve petit puffs on each sheet. (Or use a spoon to place dollops.) Whisk the final egg with a couple teaspoons of water to make an egg wash. Brush the egg wash over the top and sides of the dough mounds.
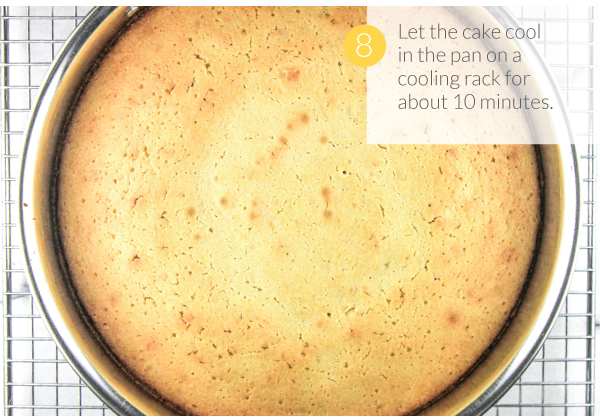
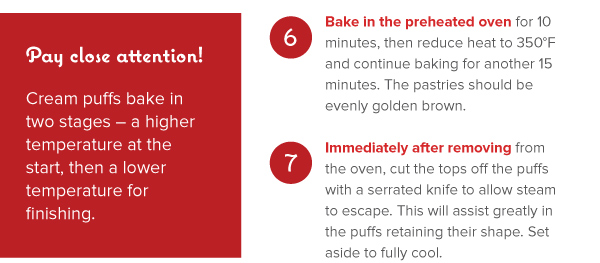
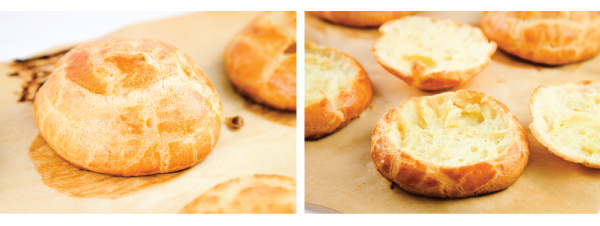
6. Bake in the preheated oven for 10 minutes, then reduce heat to 350°F and continue baking for another 15 minutes. The pastries should be evenly golden brown.
7. Immediately after removing from the oven, cut the tops off the puffs with a serrated knife to allow steam to escape. This will assist greatly in the puffs retaining their shape. Set aside to cool.
Filling Directions:
8. In a medium saucepan over medium heat, combine the raspberries, blackberries, and granulated sugar. Stir and simmer for 15-20 minutes, stirring occasionally, until the berries have broken down and begin to thicken. Turn the heat to low and simmer for an additional 15 minutes. Remove from heat and cool.
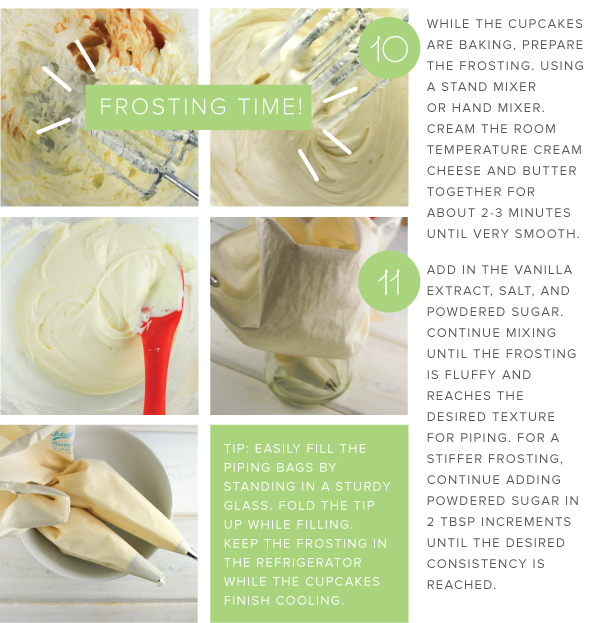
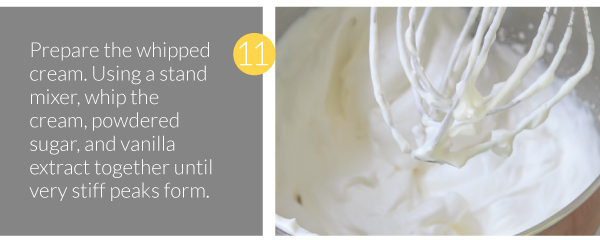
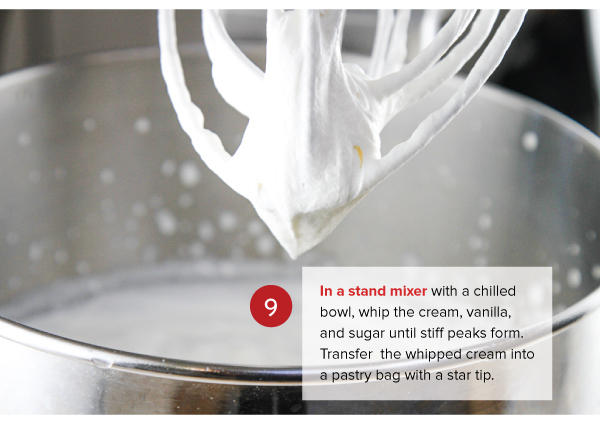
9. In a stand mixer with a chilled bowl, whip the cream, vanilla, and sugar until stiff peaks form. Transfer the whipped cream into a pastry bag with a star tip.
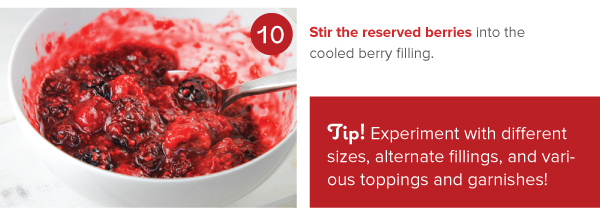
10. Stir reserved berries into cooled berry filling.
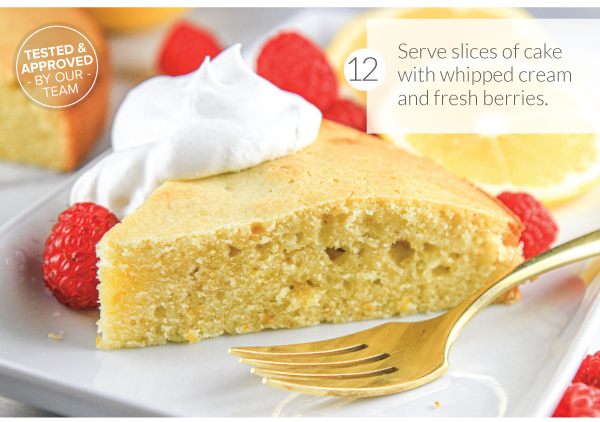
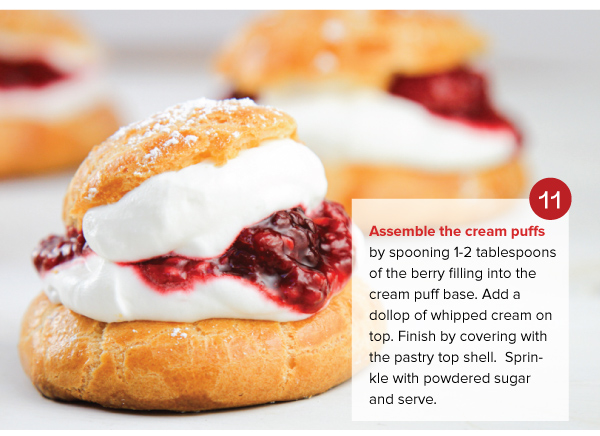
11. Assemble the cream puffs by spooning 1-2 tablespoons of the berry filling in the cream puff base. Add a dollop of whipped cream on top. Finish by covering with the pastry top shell. Sprinkle with powdered sugar and serve.